Wall paneling is a fantastic, achievable DIY project to add character and style to any room. This guide provides a complete walkthrough, from planning to finishing touches, ensuring a professional result. Much like how the right flooring provides the foundation for a room's design, wall paneling is key to establishing its unique character and atmosphere.
Key takeaways
- Preparation is paramount: The success of your entire project hinges on properly preparing your walls. A clean, smooth, and structurally sound surface is non-negotiable for a professional, long-lasting finish.
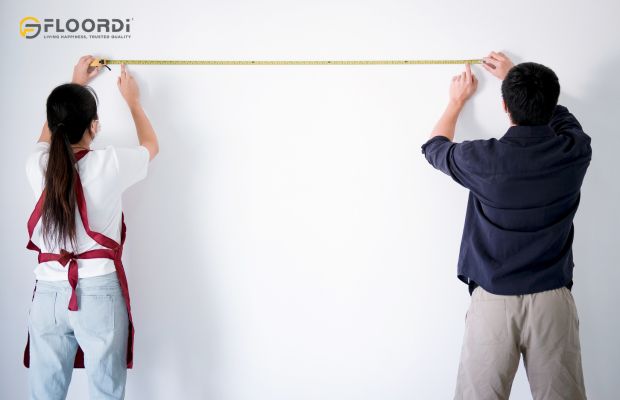
- Measure twice, cut once: This timeless advice is crucial in wall paneling installation. Accurate measurements prevent costly material waste and ensure every piece fits perfectly.
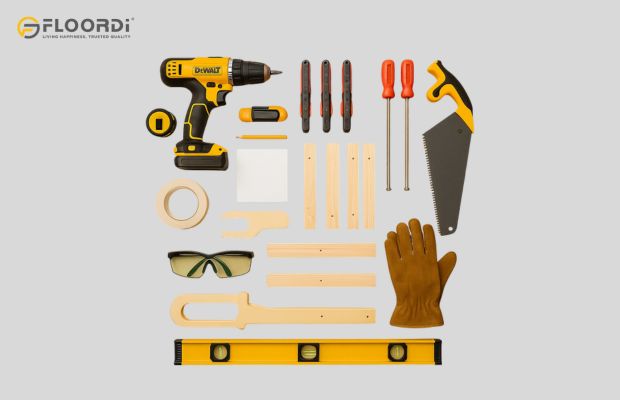
- The right tools and materials matter: Assembling your complete toolkit before you start saves time and frustration. Essential items include a tape measure, level, saw, and the correct adhesive and fasteners for your chosen panel type.
- Finishing makes the difference: The final steps of caulking, filling nail holes, and painting are what separate an amateur job from a flawless, professional installation.
Before You Begin: Tools And Materials Checklist
Gathering all your supplies before you start is a pro tip that ensures a smooth and efficient workflow. There’s nothing worse than having to stop mid-project for a trip to the hardware store.
Essential tools
- Measurement & planning: Tape measure, pencil, paper, masking tape, spirit level (a laser level is a great upgrade for speed and accuracy), and a stud finder.
- Cutting: The type of saw depends on your project's complexity. A hand saw and miter box work for simple cuts, but a miter saw, circular saw, or jigsaw will provide much cleaner and more accurate results. A sharp utility knife is also useful.
- Installation: A caulk gun is essential for applying adhesive and caulk. For fastening, you can use a traditional hammer and finishing nails, but a brad nailer is highly recommended for speed and a cleaner finish.
- Safety Gear: Always wear safety glasses and ear protection when operating power tools. Gloves are also recommended to protect your hands.
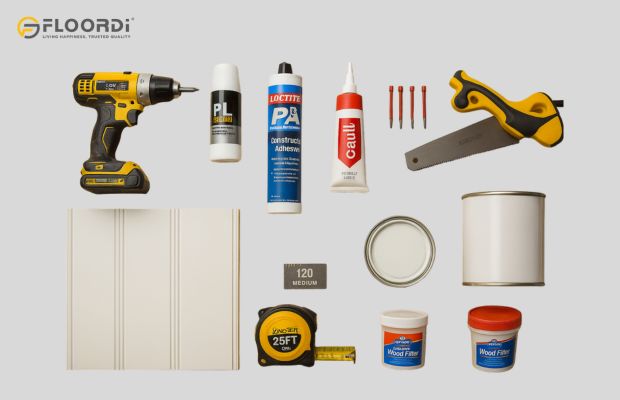
Materials you'll need
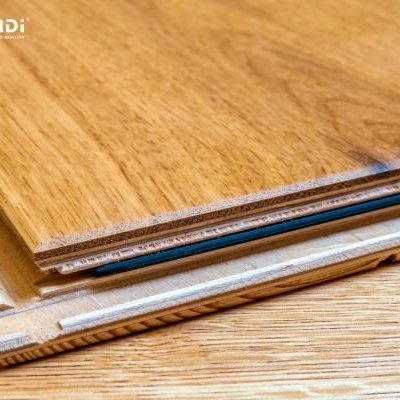
- Wall paneling: Your chosen style, whether it's a classic like beadboard or a modern design from the Walldi collection.
- Construction adhesive: A high-quality paneling adhesive is crucial. Look for trusted brands like Loctite PL Premium or Liquid Nails.
- Fasteners: Finishing nails or brads for your nail gun.
- Filler: Wood filler or spackle to cover nail holes.
- Caulk: A flexible, paintable decorator's caulk to seal seams.
- Sandpaper: Medium (120-grit) and fine (220-grit) grits.
- Primer & paint: A quality primer and your choice of paint finish.
To help you organize, here’s a breakdown of tools by project phase.
|
Project phase |
Essential tools & materials |
Recommended/Upgraded tools |
|
Planning & prep |
Tape measure, pencil, paper, spirit level, stud finder, damp cloth, sandpaper (medium grit), putty knife, gloves |
Laser level |
|
Cutting & shaping |
Hand saw or jigsaw, safety glasses, stable work surface (e.g., sawhorses) |
Miter saw, circular saw, ear protection |
|
Installation |
Hammer, finishing nails, caulk gun, construction adhesive, drill |
Brad nailer or narrow crown stapler |
|
Finishing |
Caulk, wood filler/spackle, sandpaper (fine grit), paint brushes, paint roller, painter's tape |
Tack cloth |
Step 1: Preparing Your Walls For Paneling
This is the most important step. A pristine installation is impossible on a poorly prepared wall. Taking the time here will pay dividends in the final result.
Cleaning and repairing the surface
Your panels need a clean, smooth surface to adhere to properly.
1. Clear the area: Remove everything from the wall, including outlet covers, light switch plates, hooks, and nails. Carefully pry off any existing baseboards or trim you plan to reinstall later.
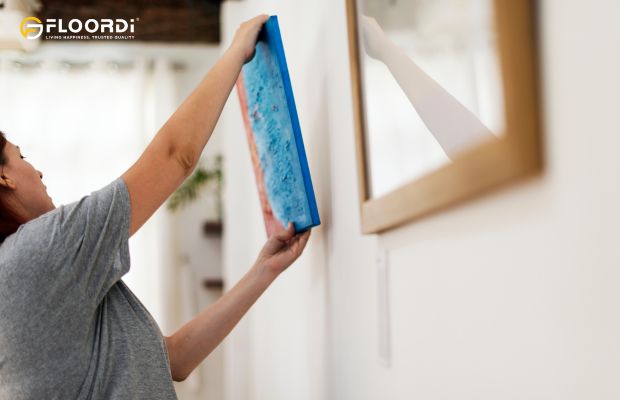
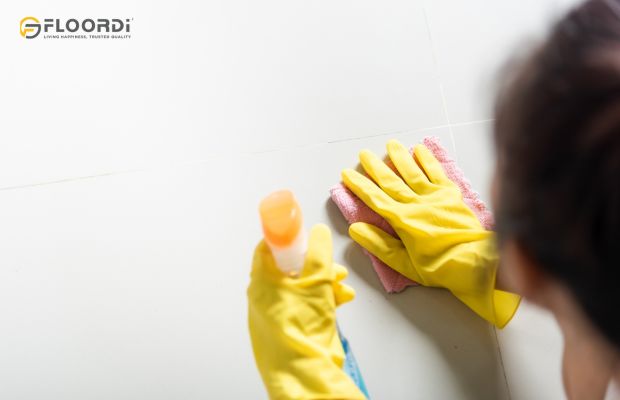
2. Clean the wall: Wipe down the entire surface with a damp cloth to remove dust. If the wall is greasy (common in kitchens), use a degreasing cleaner to ensure a spotless surface. Adhesive will not bond to grease or grime.
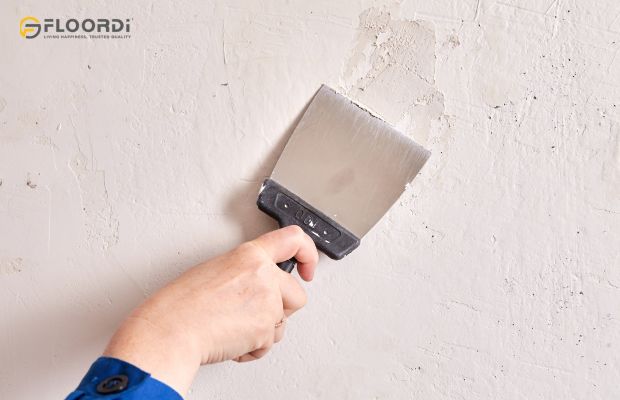
3. Smooth and repair: Inspect the wall for any imperfections. Sand down any bumps or high spots. Fill any holes or cracks with spackle, let it dry completely, and then sand it smooth so it's flush with the wall.
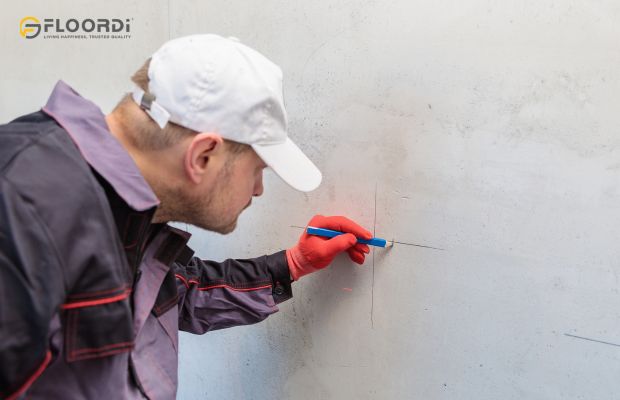
Finding and marking studs
For a secure installation, you must nail your panels into the wall studs (the vertical wood frames behind the drywall).
- Use a stud finder: Run an electronic stud finder along the wall to locate the studs.
- Mark their location: Once you locate a stud, mark its position lightly with a pencil at several points from floor to ceiling. This gives you a clear target for your nails.
Step 2: Measuring And Cutting The Panels
Precision is your best friend in this step. Remember the golden rule: measure twice, cut once.
How to measure for full panels
- Calculate quantity: Measure the height and width of the wall to get the total square footage. Divide this by the square footage of a single panel to determine how many you need.
- Add overage: It is a professional standard to add 10-15% to your total material order. This extra amount covers any mistakes, mis-cuts, or pieces needed to work around obstacles.
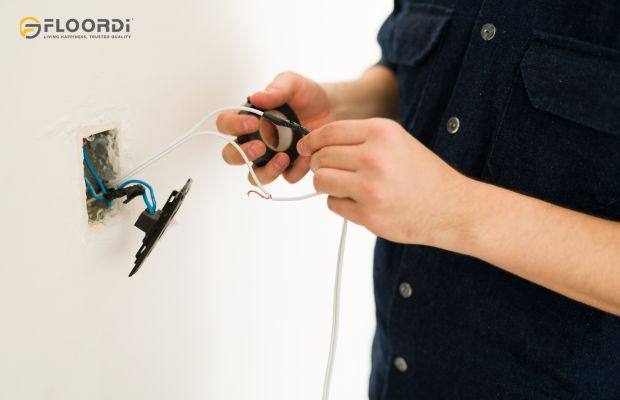
Cutting around outlets and switches
This can be the most intimidating part, but with the right technique, it’s straightforward. Safety First: Always turn off the power to the outlets and switches at the circuit breaker before you begin.
- Direct measurement method: Remove the outlet cover. Measure from the floor to the bottom of the electrical box and from the edge of the last panel to the side of the box. Transfer these measurements to the back of your panel, draw the rectangle, drill pilot holes in the corners, and use a jigsaw to cut out the shape.
- The "lipstick" hack: For a clever, no-measure solution, apply a marking substance like chalk, lipstick, or even a dab of toothpaste to the edges of the electrical box. Carefully press the panel into its exact final position. The substance will transfer a perfect outline onto the back of your panel, giving you an exact cutting guide.
Crucial safety step: Install outlet extenders When you add paneling, you increase the wall's thickness. This leaves your outlets recessed, creating a dangerous gap. You must install an outlet extender (also called a box extender). This simple, inexpensive plastic or metal spacer fits into your electrical box, bringing it flush with the new wall surface. This is a critical safety step required by most electrical codes to prevent fire hazards.
Step 3: Applying Adhesive And Mounting The Panels
With your panels cut, it's time for the main event. The most secure and recommended method is a hybrid approach using both adhesive and nails. The nails hold the panel in place while the adhesive creates a powerful, permanent bond.
Choosing the right adhesive
Use a high-strength construction adhesive specifically designed for paneling. Apply a continuous bead in an "S" or grid pattern on the back of the panel, staying about two inches from the edges to prevent it from squeezing out.
Applying the panels to the wall
- The critical first panel: Do not assume your corner is perfectly straight. Use your level to draw a perfectly vertical (plumb) line where the edge of your first panel will go. Align the panel to this line, not the corner. This guarantees your entire installation will be straight, even if your walls are not.
- Press and secure: Press the panel firmly against the wall. Use your brad nailer to drive nails along the top, bottom, and into the studs you marked earlier.
- Continue across: Work your way across the wall, ensuring each new panel fits snugly against the last.
- The last panel: It's unlikely the last panel will be a perfect fit. Measure the remaining space at the top, middle, and bottom, transfer these measurements to your final panel, and cut it to fit precisely.

Step 4: Finishing Touches For A Professional Look
This final stage is what truly elevates your project. It’s all about creating a seamless, integrated look.
Installing trim and molding
Trim covers the raw edges of your paneling and provides a polished, intentional look. Reinstall your original baseboards or add new ones, and consider a chair rail or cap molding for the top of wainscoting.
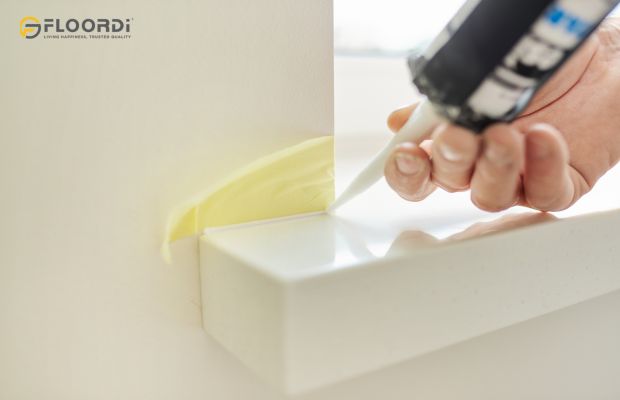
Caulking and filling nail holes
This is the secret to a flawless finish.
- Fill holes: Use a dab of wood filler or spackle on your finger or a putty knife to fill every nail hole. Once dry, lightly sand it smooth.
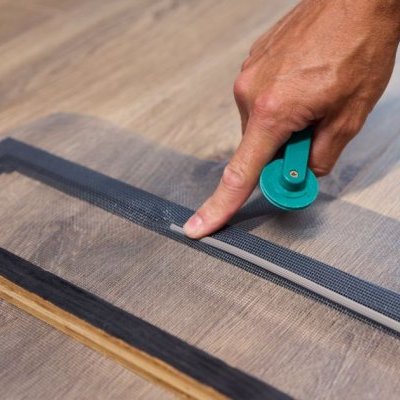
- Caulk gaps: Apply a thin, continuous bead of paintable caulk into every seam: where panels meet the wall, where they meet each other, and where they meet the trim. Smooth the bead with a damp finger for a clean, concave joint. This hides all imperfections and makes the paneling look like it's part of the wall.
Frequently Asked Questions (FAQs)
- Can I install wall paneling over drywall?
Yes, absolutely. Installing directly over drywall is the most common method for DIY projects. The key is to ensure the drywall is clean, smooth, and in good repair before you start. Never install paneling over wallpaper, as the adhesive will fail.
- Do I need to paint the wall before installing paneling?
It depends. If you're planning a two-tone look (e.g., a dark wall behind white board and batten), it's much easier to paint the wall first. For a single, uniform color, it's more efficient to install everything, caulk and fill, then prime and paint the entire surface at once for a perfectly cohesive finish.
- What's the easiest type of wall paneling to install?
For beginners, beadboard is widely considered the easiest option. It often comes in large, easy-to-handle sheets or planks that simplify the measuring, cutting, and installation process. Simple board and batten or shiplap styles are also great starting points.
- What are the benefits of using a modern paneling system?
While traditional methods like beadboard are great, modern paneling systems, such as Walldi wood wall slat panel collection, offer distinct advantages for the DIYer. They are often engineered as complete systems with interlocking pieces, which can simplify installation and ensure a perfect fit. Many also come pre-finished, saving you the time and effort of priming and painting. This makes them an excellent choice for achieving a high-end, contemporary look with greater efficiency.
With your wall paneling installed and finished, you can step back and admire your work. You’ve not only enhanced the beauty of your room but also added lasting value to your home.